Launch Resoto
Resoto allows you to manage and explore your cloud infrastructure via a web or shell interface.
Resoto UI
Resoto UI is a user-friendly web interface that simplifies managing and exploring your cloud infrastructure.
The steps to launch Resoto UI are dependent on how you installed Resoto.
- Docker
- AWS
- DigitalOcean
- Kubernetes
- pip
-
Resoto UI listens on port
8900by default. You can access it by opening https://localhost:8900 in your browser.noteThe SSL certificate is self-signed, but you can safely ignore any browser warnings.
-
Log in with your Resoto credentials:
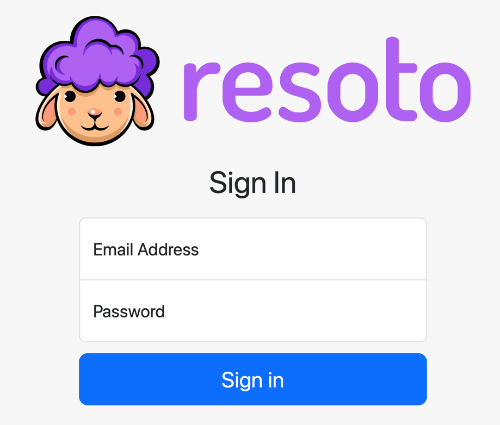 note
noteIf accessing a new Resoto install, you will be prompted to create an administrator account:
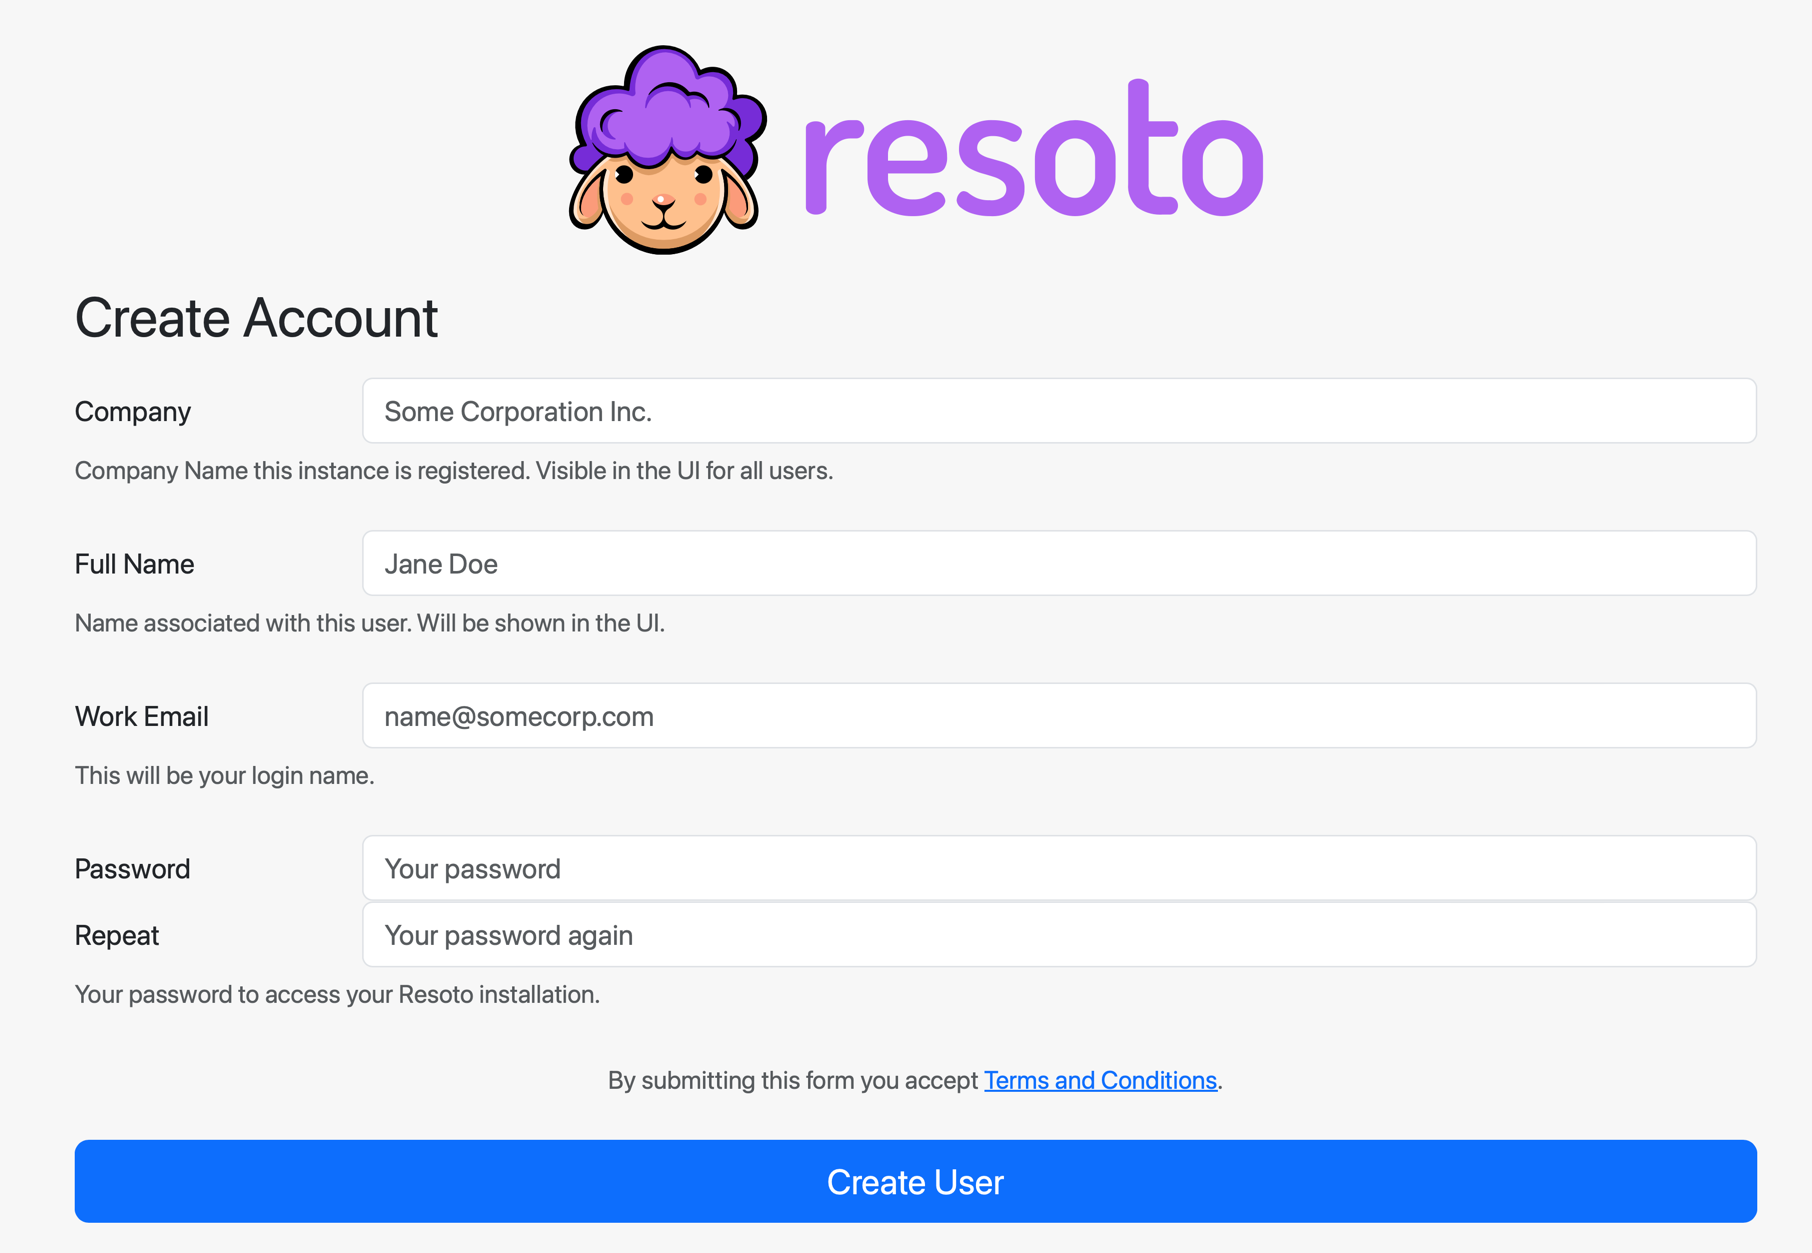
Additional users can be added via the CLI using the
user addcommand.See User Management for details.
-
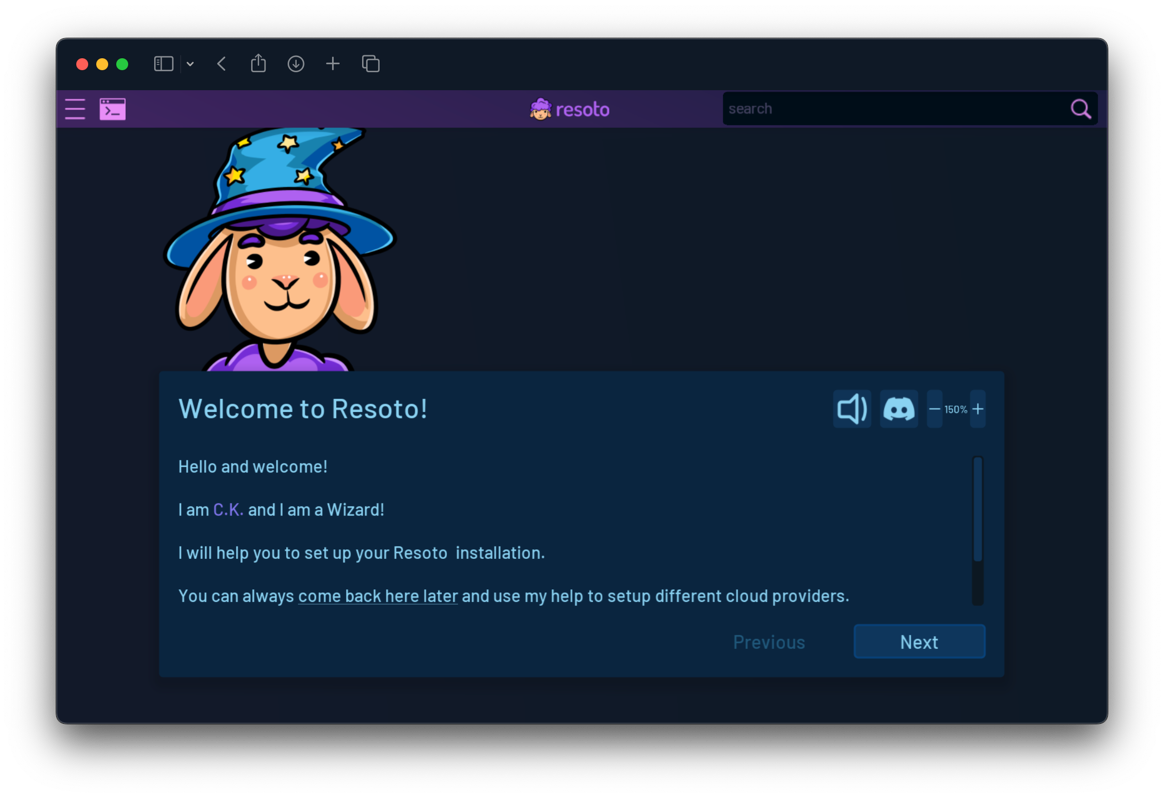
After logging in, Resoto UI will start.
noteThe first time Resoto UI is launched, a setup wizard will appear to help you configure Resoto:
The Resoto AWS CDK construct is no longer actively maintained. We recommend running Resoto using Docker.
-
Log in to the AWS CloudFormation console.
-
Click Stacks.
-
Enter
ResotoEKSinto the search box, and click on the ResotoEKS stack.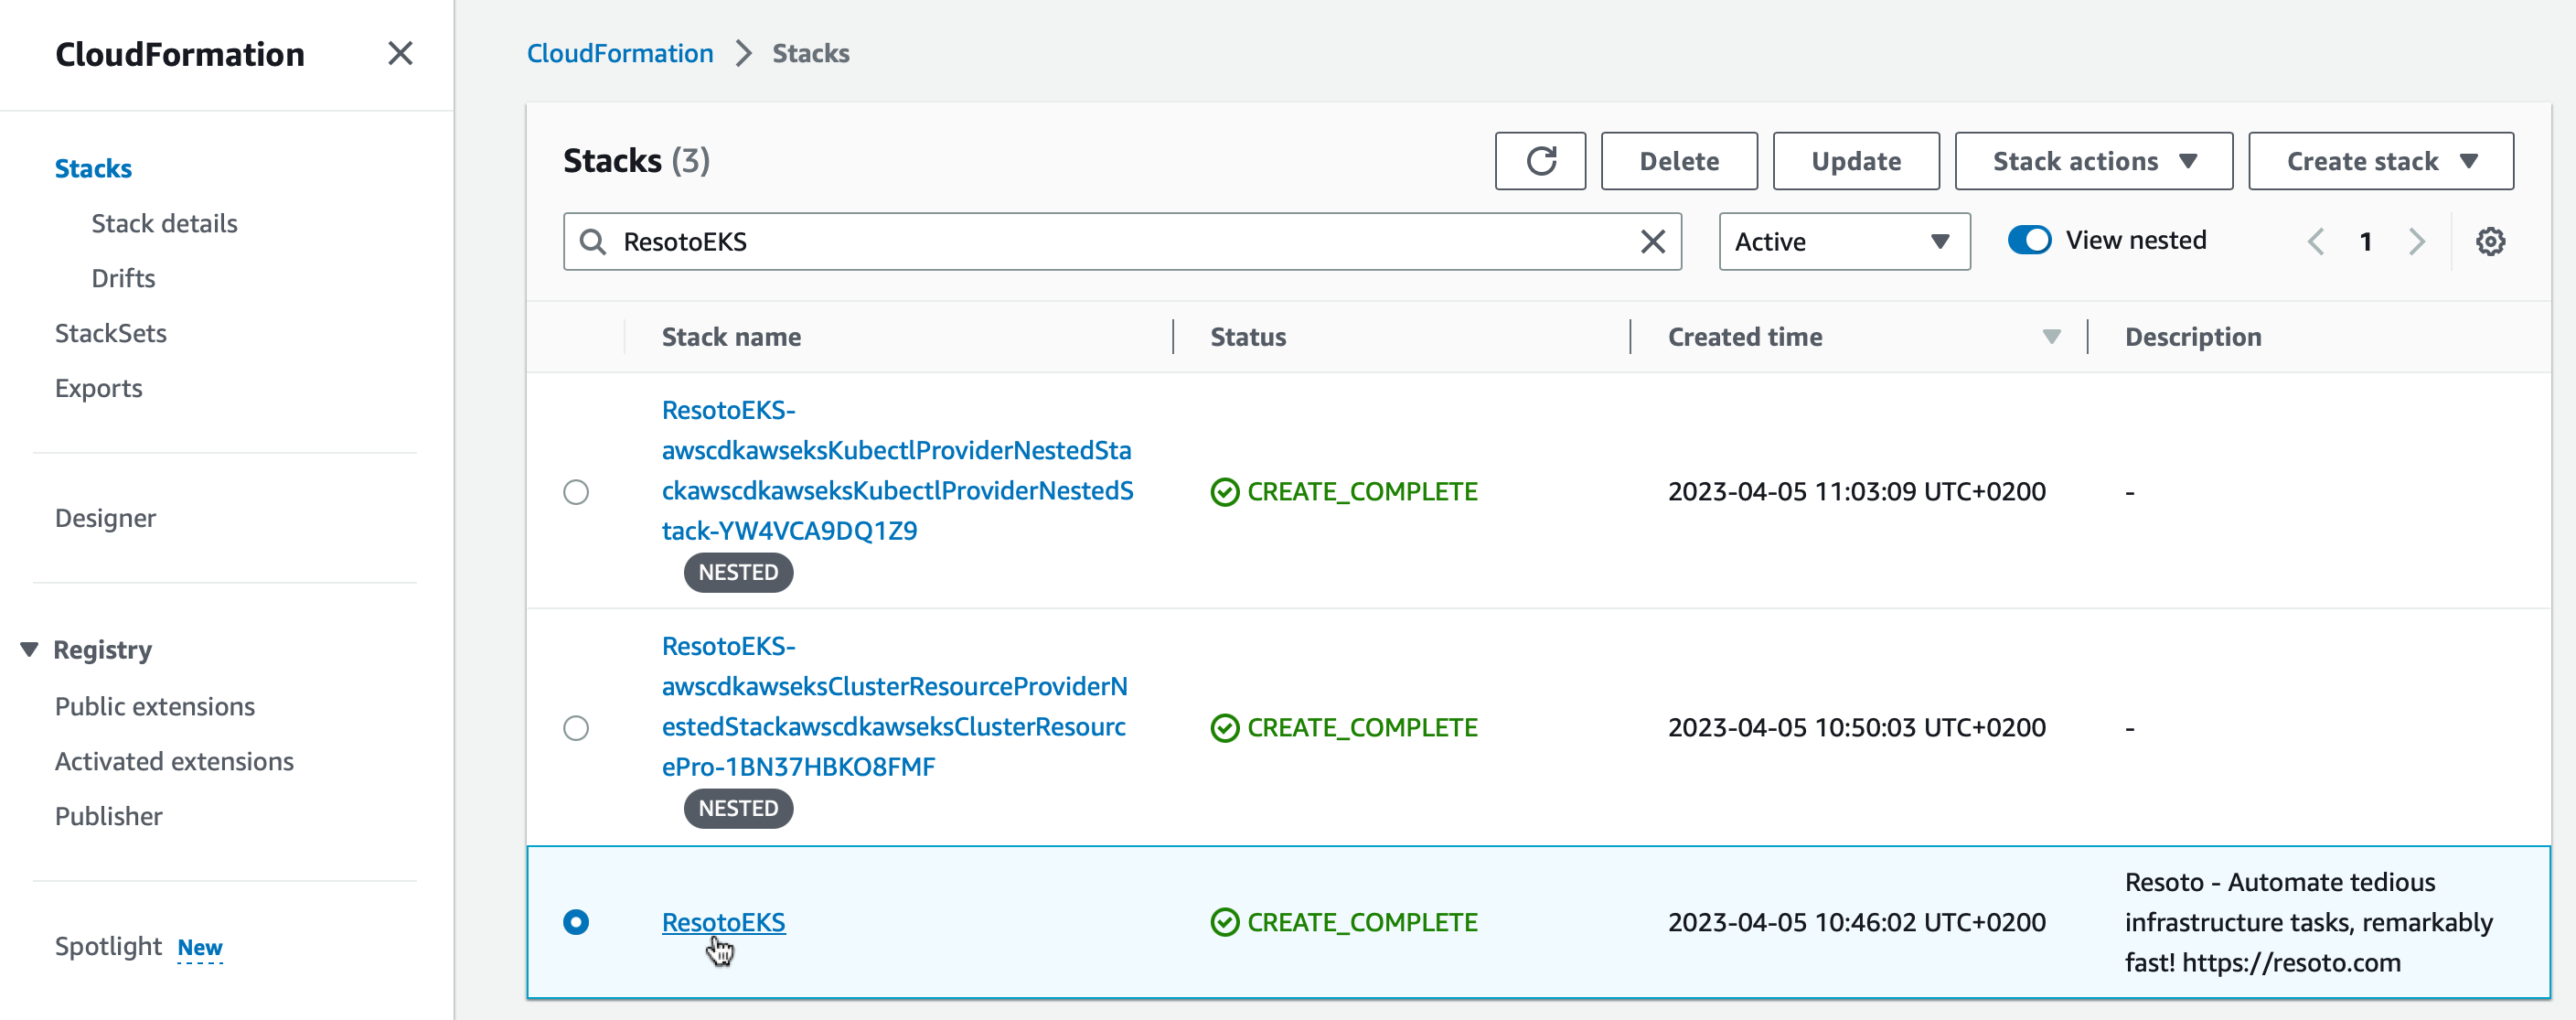
-
Click the Outputs tab.
-
Enter
ResotoUIinto the search box. There should be exactly one entry. Copy the value (e.g.,https://a3xxxxxx.us-east-1.elb.amazonaws.com:8900).infoThe value of
ResotoEKS.ResotoUIin Outputs is the URL of the Resoto UI. -
Open the copied URL in your browser.
noteThe SSL certificate is self-signed, but you can safely ignore any browser warnings.
-
Log in with your Resoto credentials:
noteIf accessing a new Resoto install, you will be prompted to create an administrator account:
Additional users can be added via the CLI using the
user addcommand.See User Management for details.
-
After logging in, Resoto UI will start.
noteThe first time Resoto UI is launched, a setup wizard will appear to help you configure Resoto:
The Resoto DigitalOcean Marketplace app is no longer actively maintained. We recommend running Resoto using Docker.
-
Resoto is available via an externally accessible service address. Get the address by executing the following in your terminal:
export SERVICE_ADDRESS=$(kubectl get --namespace resoto service resoto-resotocore -o jsonpath="{.status.loadBalancer.ingress[0].ip}")
echo "Visit https://$SERVICE_ADDRESS:8900 to use Resoto." -
Copy the URL into your browser to launch Resoto UI.
noteThe SSL certificate is self-signed, but you can safely ignore any browser warnings.
-
Log in with your Resoto credentials:
noteIf accessing a new Resoto install, you will be prompted to create an administrator account:
Additional users can be added via the CLI using the
user addcommand.See User Management for details.
-
After logging in, Resoto UI will start.
noteThe first time Resoto UI is launched, a setup wizard will appear to help you configure Resoto:
The Resoto Helm chart is no longer actively maintained. We recommend running Resoto using Docker.
-
Resoto provides a service that exposes Resoto UI on port
8900. We recommend configuring an Ingress with a valid certificate for UI access, but you can port-forward the service as a temporary solution:$ kubectl port-forward services/resoto-resotocore 8900 -
Log in with your Resoto credentials:
noteIf accessing a new Resoto install, you will be prompted to create an administrator account:
Additional users can be added via the CLI using the
user addcommand.See User Management for details.
-
After logging in, Resoto UI will start.
noteThe first time Resoto UI is launched, a setup wizard will appear to help you configure Resoto:
Resoto consists of a number of distributed components that are intended to run 24/7 on a server. We recommend running Resoto using Docker.
-
Resoto UI listens on port
8900by default. You can access it by opening https://localhost:8900 in your browser.noteThe SSL certificate is self-signed, but you can safely ignore any browser warnings.
-
Log in with your Resoto credentials:
noteIf accessing a new Resoto install, you will be prompted to create an administrator account:
Additional users can be added via the CLI using the
user addcommand.See User Management for details.
-
After logging in, Resoto UI will start.
noteThe first time Resoto UI is launched, a setup wizard will appear to help you configure Resoto:
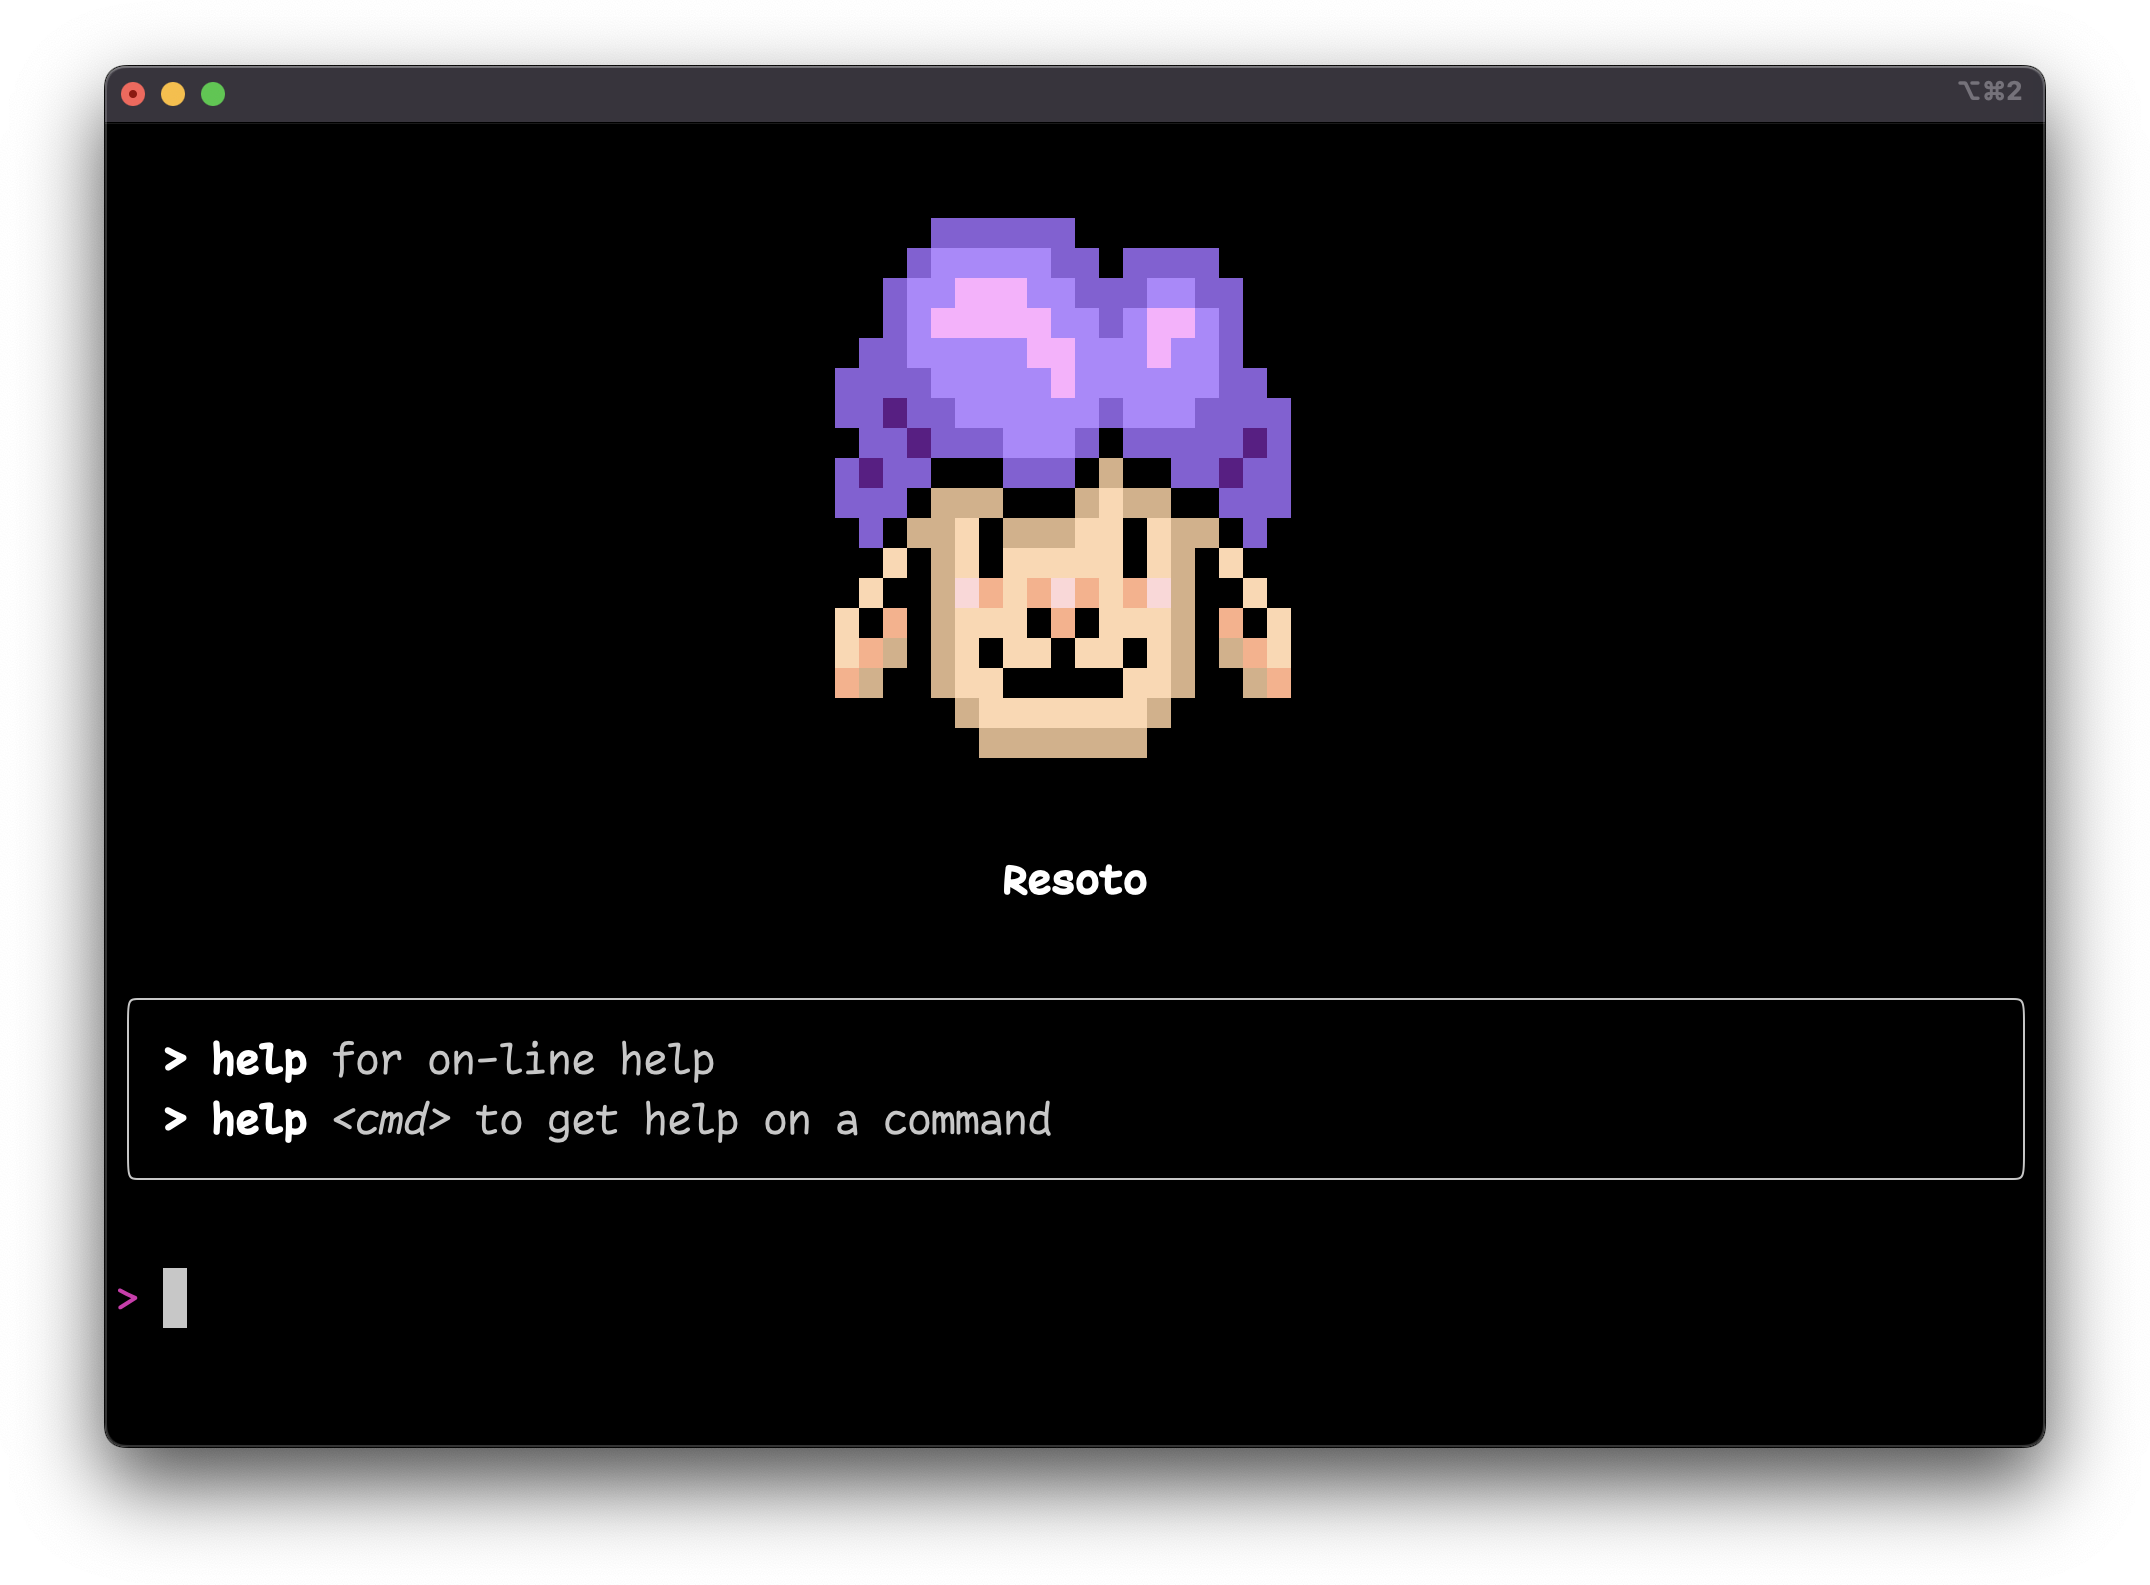
Resoto Shell
Resoto Shell is Resoto's command-line interface.
The steps to launch Resoto Shell depend on how you installed Resoto.
- Docker
- AWS
- DigitalOcean
- Kubernetes
- pip
Execute the following to access the Resoto Shell interface:
$ docker exec -it resotoshell resh
The Resoto AWS CDK construct is no longer actively maintained. We recommend running Resoto using Docker.
-
Log in to the AWS CloudFormation console.
-
Click Stacks.
-
Enter
ResotoEKSinto the search box, and click on the ResotoEKS stack. -
Click the Outputs tab.
-
Enter
ResotoEKSConfigCommandinto the search box. There should be exactly one entry. Copy the value (aws eks ...).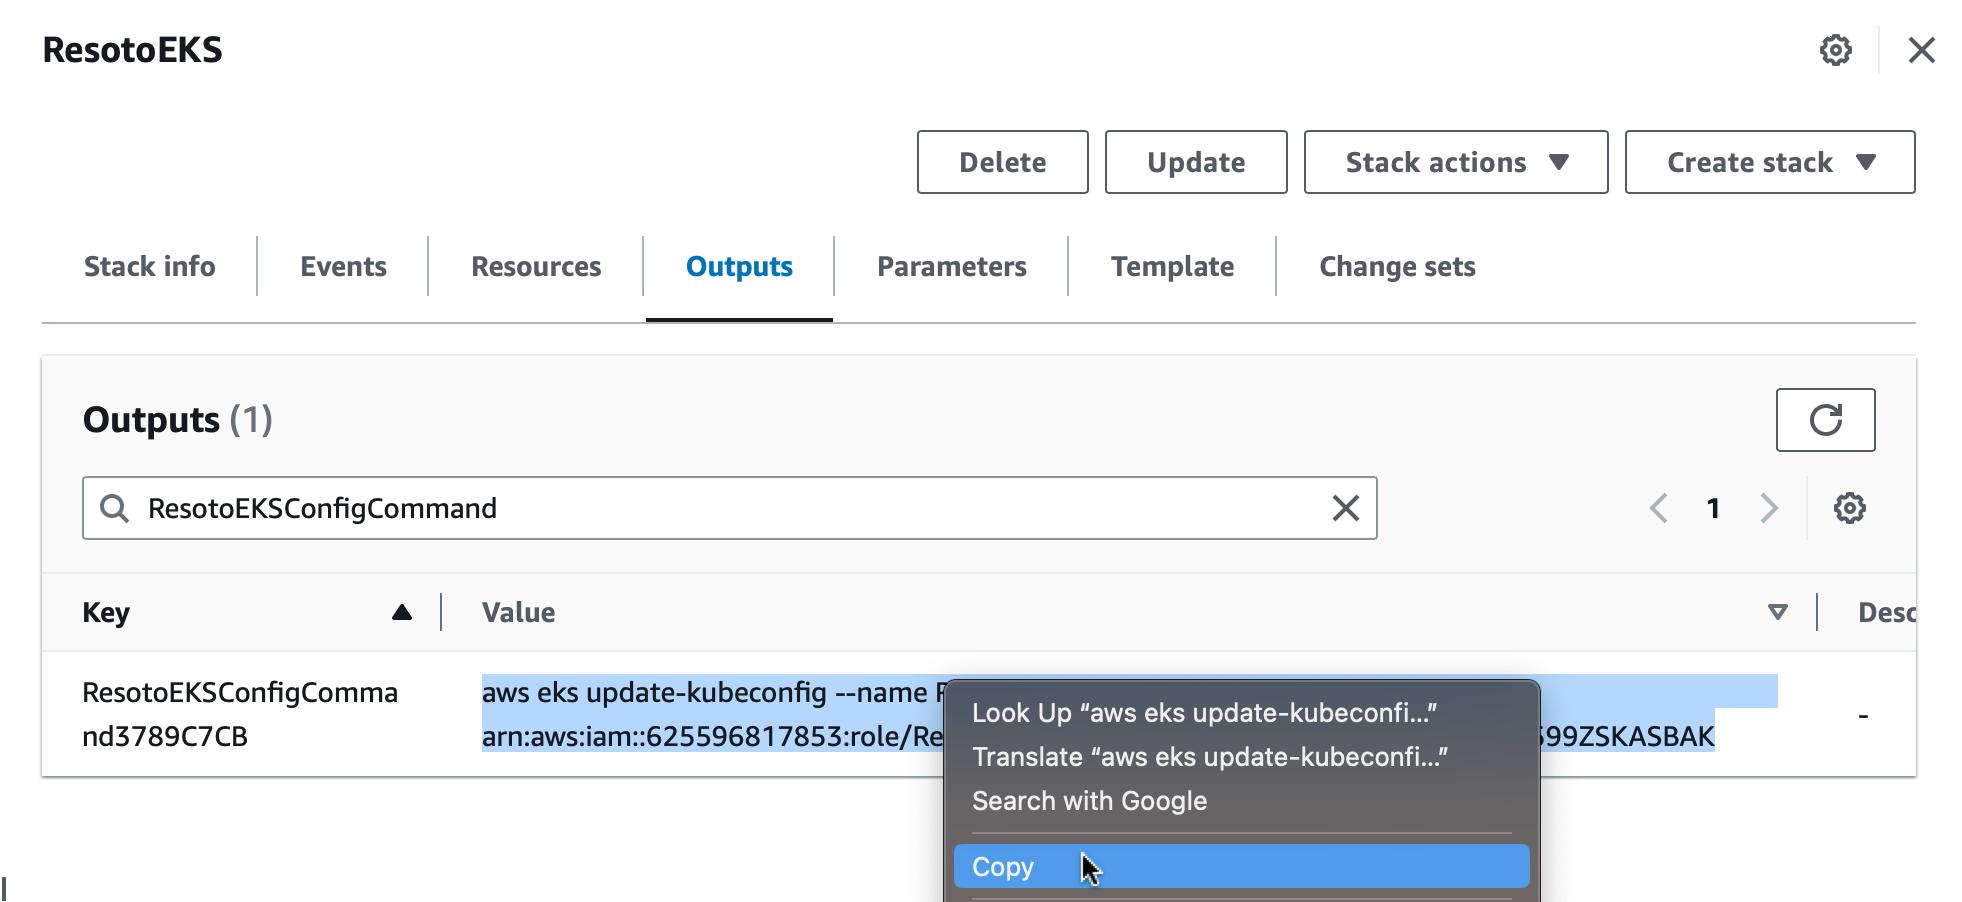 info
infoThe value of
ResotoEKS.ResotoEKSConfigCommandXXXXin Outputs is a command to configurekubectlto connect to the EKS cluster. -
Open a terminal and execute the copied command.

-
Execute the following in the terminal to access the Resoto Shell interface:
$ kubectl exec -it service/resoto-resotocore -- resh
The Resoto DigitalOcean Marketplace app is no longer actively maintained. We recommend running Resoto using Docker.
Execute the following to access the Resoto Shell interface:
kubectl --namespace resoto exec -it service/resoto-resotocore -- resh
The Resoto Helm chart is no longer actively maintained. We recommend running Resoto using Docker.
-
Make sure that the deployment is available:
$ kubectl wait --for=condition=available deployment/resoto-resotocore -
Execute the following to access the Resoto Shell interface:
$ kubectl exec -it service/resoto-resotocore -- resh
Resoto consists of a number of distributed components that are intended to run 24/7 on a server. We recommend running Resoto using Docker.
Execute the following to access the Resoto Shell interface:
$ resh